
Tools and materials required:
- Fabric
- Pattern piece(s)
- Cutting mat
- Rotary cutter
- Tailor's chalk
- Pattern weights
- Pins
Step 1: After you've finished the prep work, line up your pattern piece with the grain of the fabric (the line with the arrows on the pattern piece should run parallel with the finished edges of your fabric) and place your pattern weights over your pattern to keep it in place. I'm using my own pattern weights from my last blog post. For most fabrics, using pattern weights is the preferred method since, unlike with pins, neither the fabric nor the pattern piece will be distorted. The only time you'd pin is when using a silky/slippery fabric, and then you'll want to pin every couple of inches, trying to keep the pins inside the seam allowance.

Step 2: Using your rotary cutter, carefully cut all the way around your pattern piece, making sure to stay clear of any fingers!

Step 3: With your rotary cutter, cut a small slit into the center of any and all notches (the triangles on the edge of the pattern pieces). Then place a pin in the center of all the dots and in the center ends of any buttonholes.

Step 4: Carefully remove your pattern pieces, making sure not to pull your pins out of the fabric or to damage your pattern too much.

Step 5: Using your tailor's chalk, make a mark over the part of the pin that's behind the fabric - the pin will serve as a guide, allowing you to make a very exact mark. Rotate the pin and make another mark. Repeat one more time, making sure the head of the pin is centered between the previous two marks.


Step 6: Repeat step five for all the remaining pins, except for the pins marking the buttonhole, and again on the back if you're using two layers of fabric. Remove all of the pins that have already been marked.


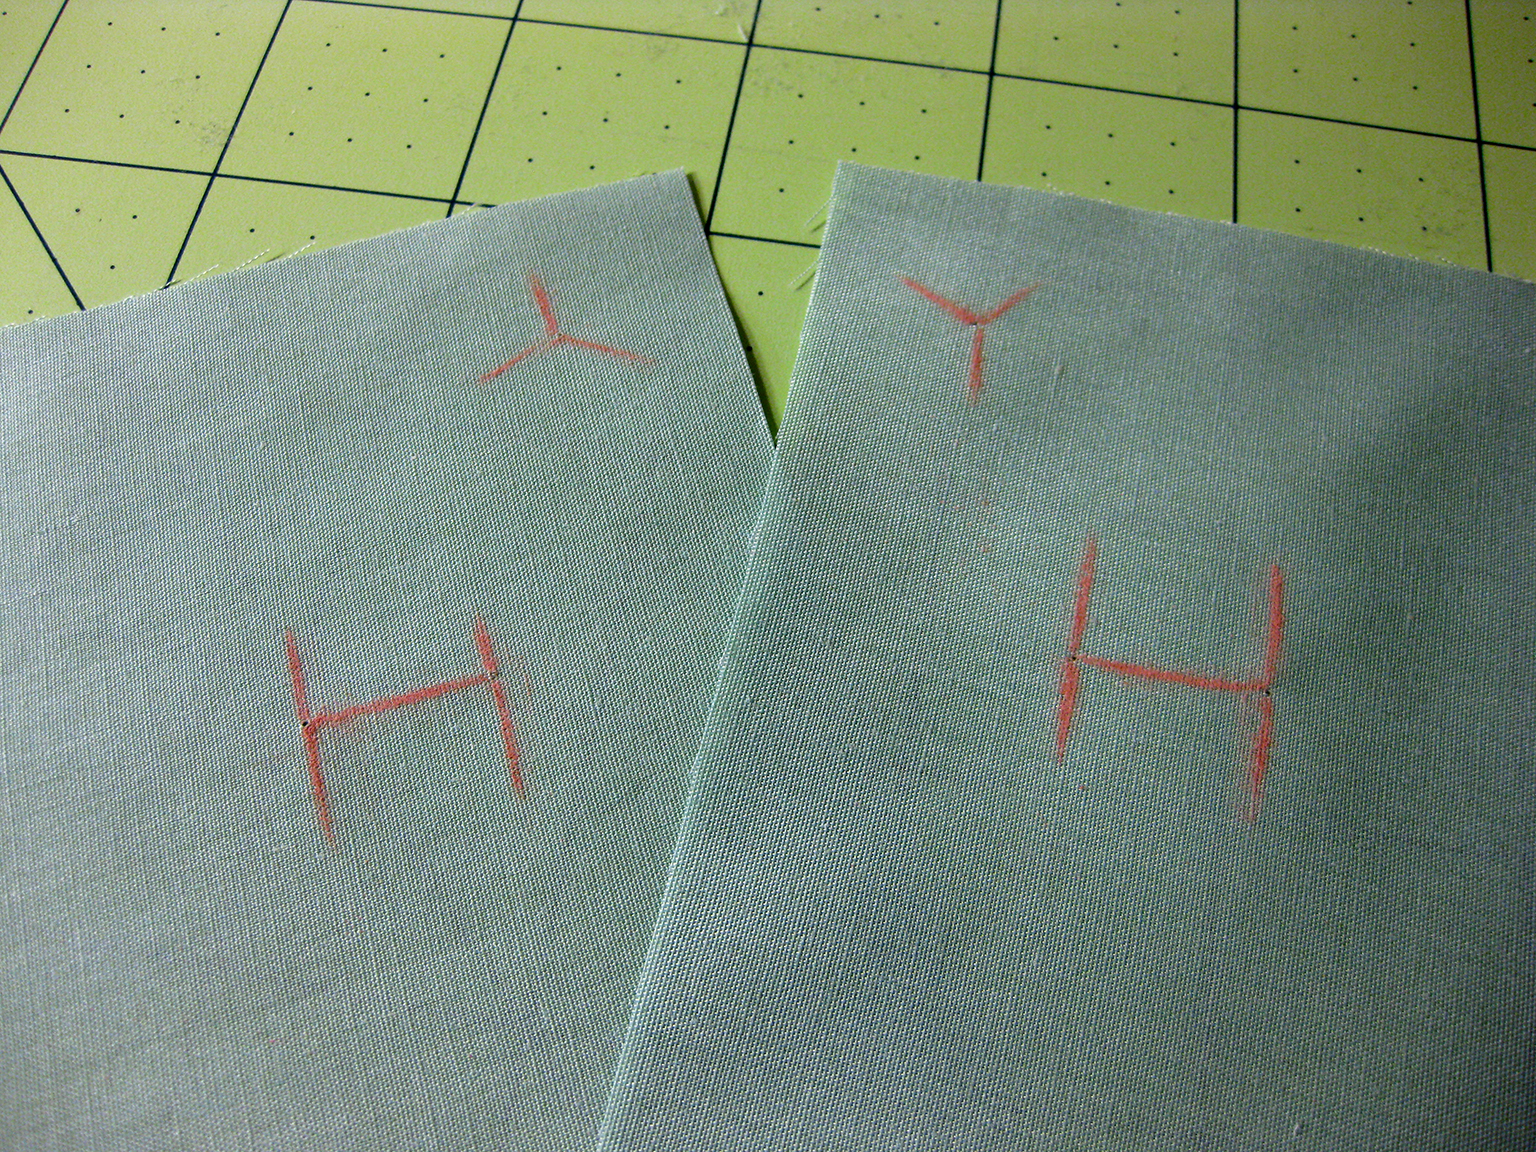
Step 7: Rotate one of the pins so that it's pointing directly at the other pin's location in the fabric and mark with the tailor's chalk. Rotate the pin 90 degrees and make another mark. Finally, rotate it 180 degrees and make a third line


Step 8: Repeat step 7 for the second pin. Do the same for the back fabric if using two pieces of fabric.

Step 9: Remove your pins and get to sewing! :)
There are probably dozens of methods for cutting out patterns and transferring pattern markings to fabric, but this is what I prefer and what works best for me. If you have any questions or comments, feel free to leave them in the comment section below! :)
'Til next time,
BH
I love this! Nicely done!
ReplyDeleteThanks, Max! :D
DeleteGreat advice! I LOVE my rotary cutter <3 I don't know how I lived before I had one.
ReplyDeleteFor my very first shirt, I didn't have a rotary cutter and used scissors... NEVER AGAIN!!! Haha. :) Absolutely love my rotary cutter too! <3
DeleteWell done tutorial. I am still old school and use pins to cut. I will try to get over the fear of my rotary cutter and trust this technique. Good job.
ReplyDeleteI'll admit there is something a little romantic about using a pair of scissors to cut out your fabric. The sound can be really quite beautiful. But using a rotary cutter is a LOT faster 'and' produces cleaner edges! :) You do definitely need to be careful of your hand/finger placement though. Thanks for the comment and compliment! :)
DeleteI am definitely going to try this!
ReplyDeleteAwesome!! Let me know how it goes for you. Thanks. :)
DeleteThis answered my question about whether a rotary cutter would give me a tighter cut. Thanks.
ReplyDeleteNow is there a rotary cutter you like more than another?
I was passed down a Kai rotary cutter from my Grandmother and I absolutely love it! I've also recently gotten some Kai scissors and am thoroughly in love with them - they cut better than anything else I've used! So I'm definitely a Kai fan. :)
Delete